Category: Cooking Tips
A well seasoned air fryer basket releases food beautifully, uses less oil, and makes low carb cooking easier. Learn exactly which oils to use, how to season step by step, and how this simple habit supports diabetes friendly meals.
Seasoning is simple. You apply a light coat of the right oil, heat it to bond with the surface, then repeat as needed. Do it once when your air fryer is new or newly deep cleaned, and touch it up regularly. The result is reliable nonstick performance that helps you hit your nutrition targets while still enjoying great texture.
Great options: - Refined avocado oil, smoke point around 500°F. - High oleic canola oil, often 450°F or higher. - Grapeseed oil, around 420°F. - Peanut oil, around 450°F.
Skip extra virgin olive oil for the seasoning step because it can smoke at higher temperatures. Use it for flavor after cooking or for lower heat reheats. For everyday spraying, use a refillable pump mister rather than aerosol sprays with propellants. Propellants and lecithin can gunk up nonstick surfaces.
If you need a reliable sprayer, try a [quality olive oil sprayer](https://rocktopgear.com/amazon). It lets you apply a fine, even mist without additives that can damage coatings.
1. Wash and dry thoroughly. - Hand wash the basket, tray, and any racks in warm soapy water. Rinse well. Dry until there is no visible moisture. Water left behind will prevent the oil from bonding.
2. Warm the basket. - Insert the dry basket and tray. Preheat the empty air fryer to 400°F for 2 to 3 minutes. Warming helps the oil spread thinly and cure evenly.
3. Apply a very thin coat of oil. - Turn the unit off. Carefully remove the warm basket. Add about 1 teaspoon of high smoke point oil to a folded paper towel. Wipe the inside of the basket, tray, and racks until you see a faint sheen. It should look almost dry, not wet or pooling. Excess oil can get sticky.
4. Cure the oil. - Return the basket and accessories. Run the air fryer at 375 to 400°F for 5 to 8 minutes. There should be minimal smoke. A slight whiff the first time is normal.
5. Cool and repeat. - Let the basket cool for 10 to 15 minutes with the drawer cracked open. Repeat steps 3 and 4 once more for new units or after a deep clean. Two thin coats are better than one thick coat.
That is it. Your basket is seasoned and ready for nonstick, low carb cooking.
Try these approaches: - Dry rubs over breading: Use salt, pepper, garlic powder, smoked paprika, and herbs. For a gentle crust, dust lightly with almond flour or grated Parmesan instead of breadcrumbs. - Pat foods dry and mist lightly: A quick spritz in the basket and a light mist on the food is usually enough. That control helps keep calories and fats predictable. - Cook to temperature, not guesswork: Overcooking leads to sticking and dry results. A [digital food thermometer](https://rocktopgear.com/amazon) keeps chicken juicy and salmon silky while minimizing the urge to add more oil.
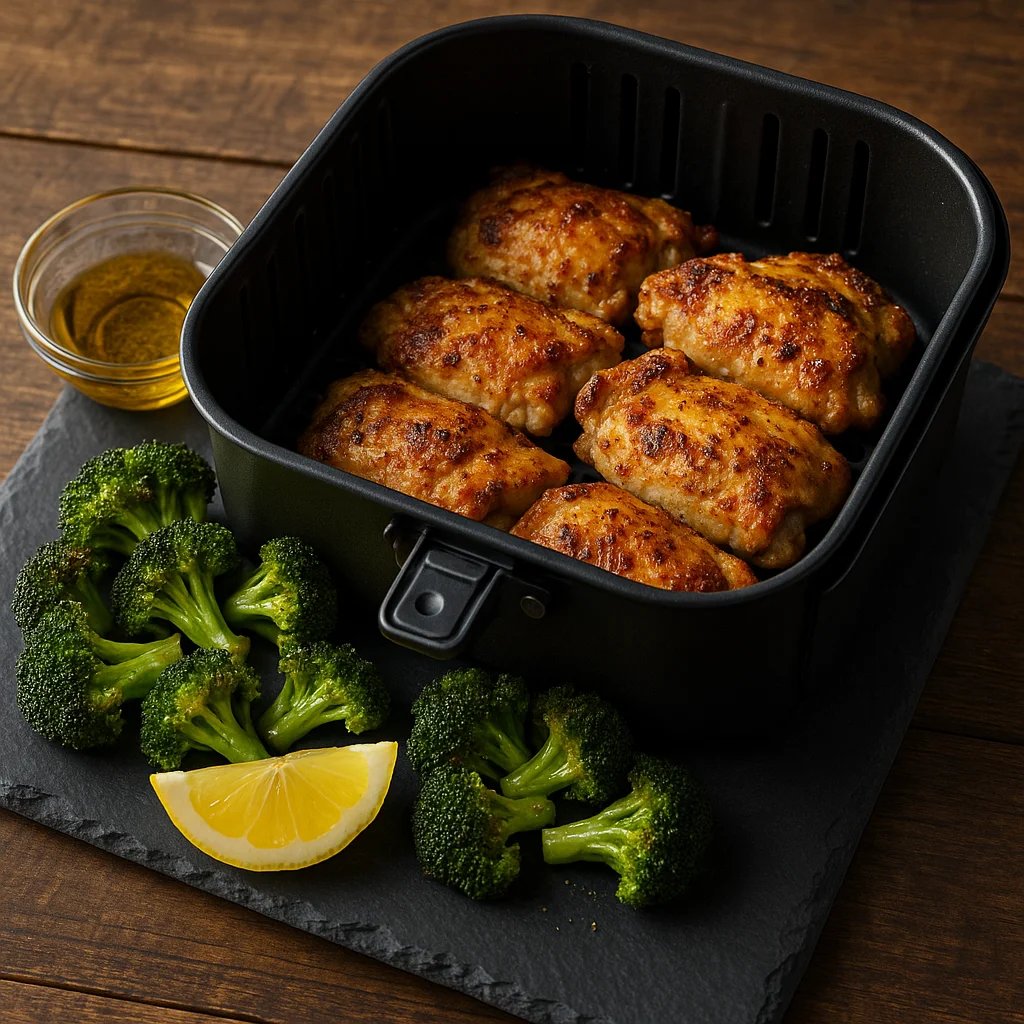
If you need recipe ideas that work beautifully in a well seasoned basket, try: - [Crispy Air Fryer Chicken Thighs](/recipes/air-fryer-lemon-garlic-chicken-thighs-with-parmesan-broccoli) with a paprika and garlic rub. - [Keto Zucchini Fries](/recipes/air-fryer-bacon-wrapped-asparagus-with-lemon-parmesan) using almond flour and Parmesan for crunch. - [Parmesan Salmon Bites](/recipes/crispy-parmesan-herb-air-fryer-salmon) for a quick protein you can pair with a simple salad.
With a properly seasoned air fryer, you will need less oil, your low carb coatings will stay put, and your macros will be easier to manage. That is the kind of small kitchen habit that pays off every week, especially when you are keeping a close eye on blood sugar and still want truly satisfying meals.
Once your air fryer is properly seasoned, put it to work with recipes like [Air Fryer Parmesan Garlic Cauliflower](/recipes/air-fryer-lemon-garlic-chicken-thighs-with-parmesan-broccoli) or [Crispy Zucchini Chips](/recipes/air-fryer-bacon-wrapped-asparagus-with-lemon-parmesan). A well-seasoned basket makes cleanup easier and prevents sticking.
For more cooking tips, see our [beginner mistakes guide](/blog/5-beginner-mistakes-to-avoid-when-air-frying-keto-meals-so-they-stay-crispy-and-blood-sugar-friendly) and [temperature settings for perfect results](/blog/air-fryer-temperature-guide-perfect-settings-for-every-protein). Consider using [parchment liners](https://rocktopgear.com/amazon) for extra non-stick protection, and keep a quality [olive oil sprayer](https://rocktopgear.com/amazon) handy for even coating.